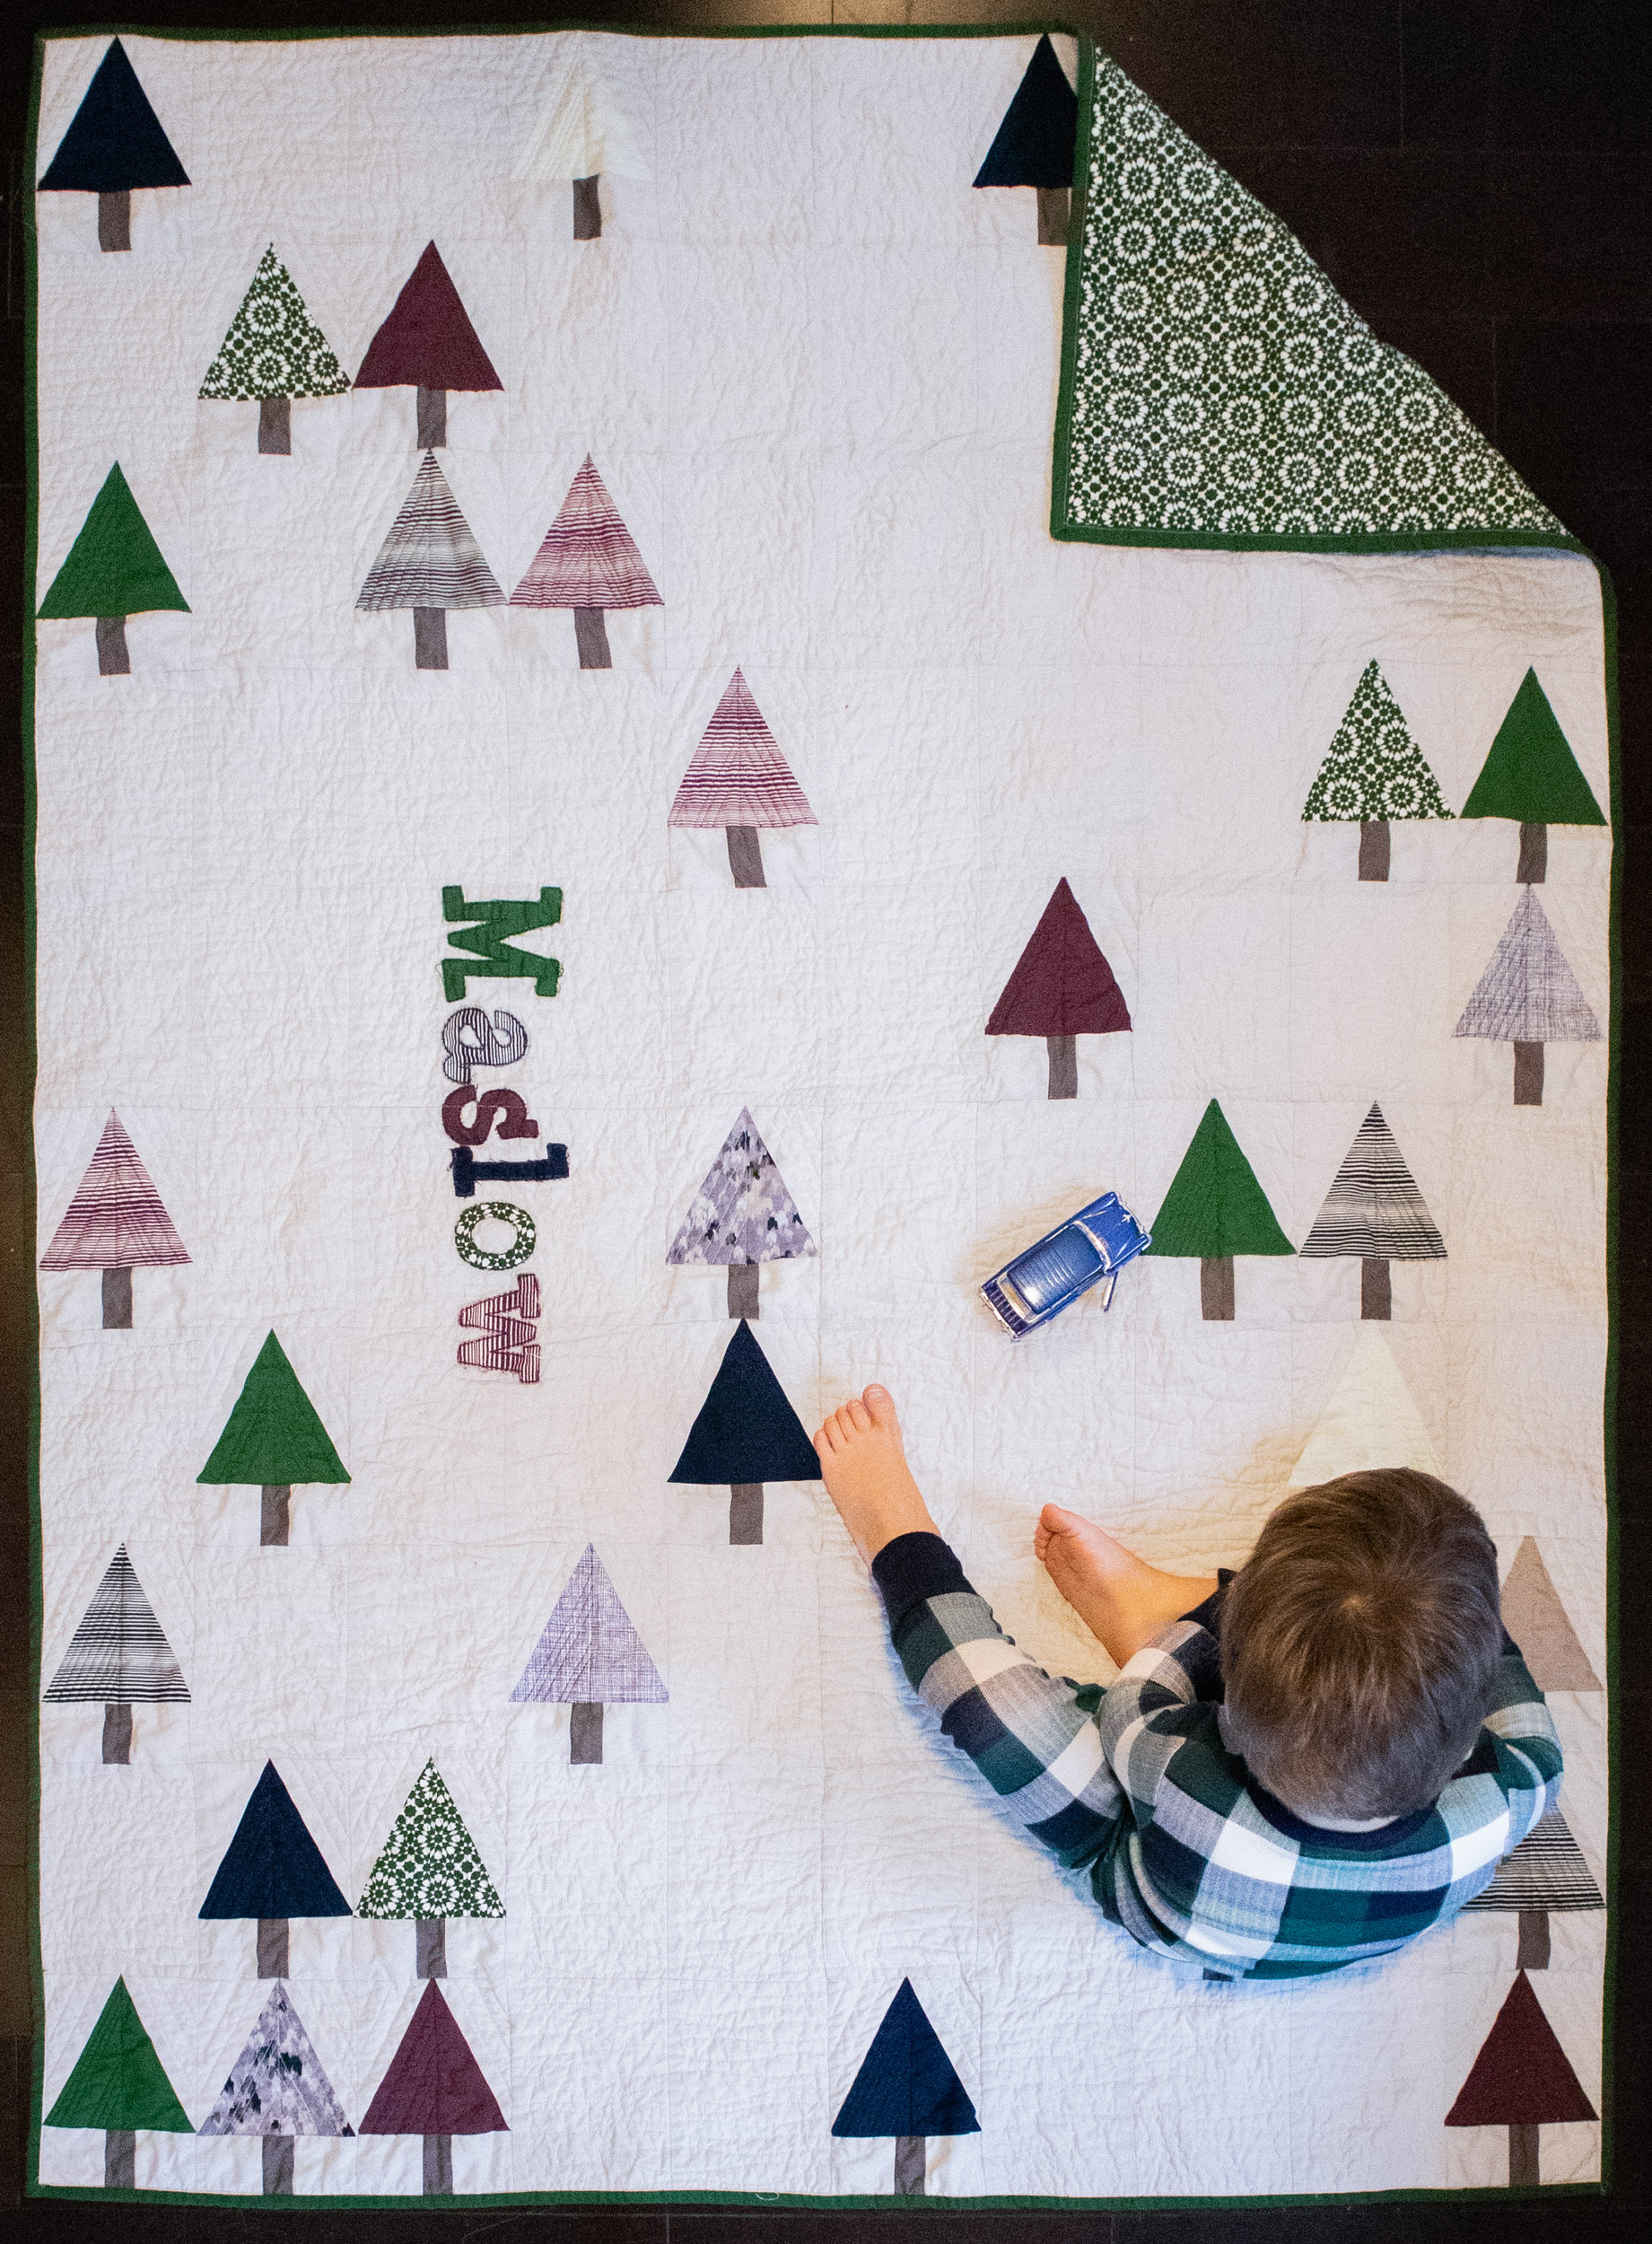
When it came time to plan for Maslow’s third birthday party, the theme was obvious—DINOSAURS! Since before Christmas, the kid has done nothing but play, read, watch, and DREAM about dinosaurs (I literally wake up to hear him roaring in his sleep)! I knew I wanted to do a brightly colored, modern spin on the theme.

Foam insulation letters with wrapping paper and The Flair Exchange custom tissue garland in Aqua, Lime, Navy, Coral, and Blush
Invitations always come first, so I have to consider how I’ll be decorating when I’m putting them together. I usually just use Photoshop and have fun pulling inspiration from all the cool invitation ideas on Pinterest.
My husband, Jeff, recently built a CNC router in our basement and was dying to do some creative making on his new machine. We decided to do large dinosaur skeleton cut-outs of a T-rex, Brachiosaurus, and Triceratops out of plywood as well as his name and the number 3 out of foam insulation board. I painted the words dark gray and used spray adhesive to apply a polka dot wrapping paper from Hobby Lobby on the front.
The easiest way for me to develop a color palette is to head to the craft store and shop for paper. From there, I was able to take the paper to Lowe’s and purchase paint samples that were custom mixed to match. I used that paint for all the wood dinosaurs we cut and I have a Silhouette Cameo machine that I use to cut all my paper crafts including the dinosaur and circle garlands. I reused the leaf garlands from his first birthday party over the dining table and around the doorways.
Now, let me tell you about a gem of a connection I have—my cousin, Sarah, owns an online party boutique called The Flair Exchange that makes amazing tissue garlands and hand-cut confetti, among other things. Do yourself a favor and go buy some RIGHT THIS MINUTE. I had so much fun going to her studio and picking out the colors for our custom garlands and confetti. And the cool thing is—YOU can have custom garlands and confetti too OR you can choose from one of her already stunning color palettes! I bought some of those huge clear balloons and stuffed them with TFE confetti and they added such a fun pop of color!
Something fun I decided to do this year was to make custom dinner plates with Maslow’s name. I ordered Shindigz photo plates and just uploaded the design I put together in photoshop as my “photo”. This was such a fun way to personalize the food table!
Since Maslow was turning 3, he was the perfect age to help with some of the fun crafts. We make dinosaur “fossils” by stamping his toy dinosaurs into play-doh so I thought it would be a fun activity for us to make fossil cookies by doing the same thing with sugar cookie dough! He loved it!
For the cake, I planned to use gel food coloring to color the fondant but I came across the BEST find that saved me so much time! Michael’s sells these little tubs of Sweetshop fondant that were literally the EXACT colors I needed for the letters and dots on the cake. Then I mixed Wilton’s candy melts to get the colors I needed for the cake pops.
I knew I wanted to do a balloon garland over our kitchen island, but I had a terrible time finding the balloon colors I needed. I finally came across Balloons Online and found the perfect balloons in colors Aquamarine, Neon Orange, Pastel Pink, and Navy. I ended up ordering the green balloons on Amazon since their Neon Green was out of stock.
One thing I did this year, and will continue year-after-year, is to wait until Maslow goes to bed the night before his party to put up the decorations. It was a lot to do in one night, but seeing him come downstairs the morning of his party was like Christmas! It was such a fun surprise and his “NOOOO WAYYYYY!” left me giddy.
Since the very first time we discussed a dinosaur theme for Maslow’s party, Jeff really wanted to make a “Maslowzoic Park” sign for the front porch. This was 100% his project and I think he did an AWESOME job!
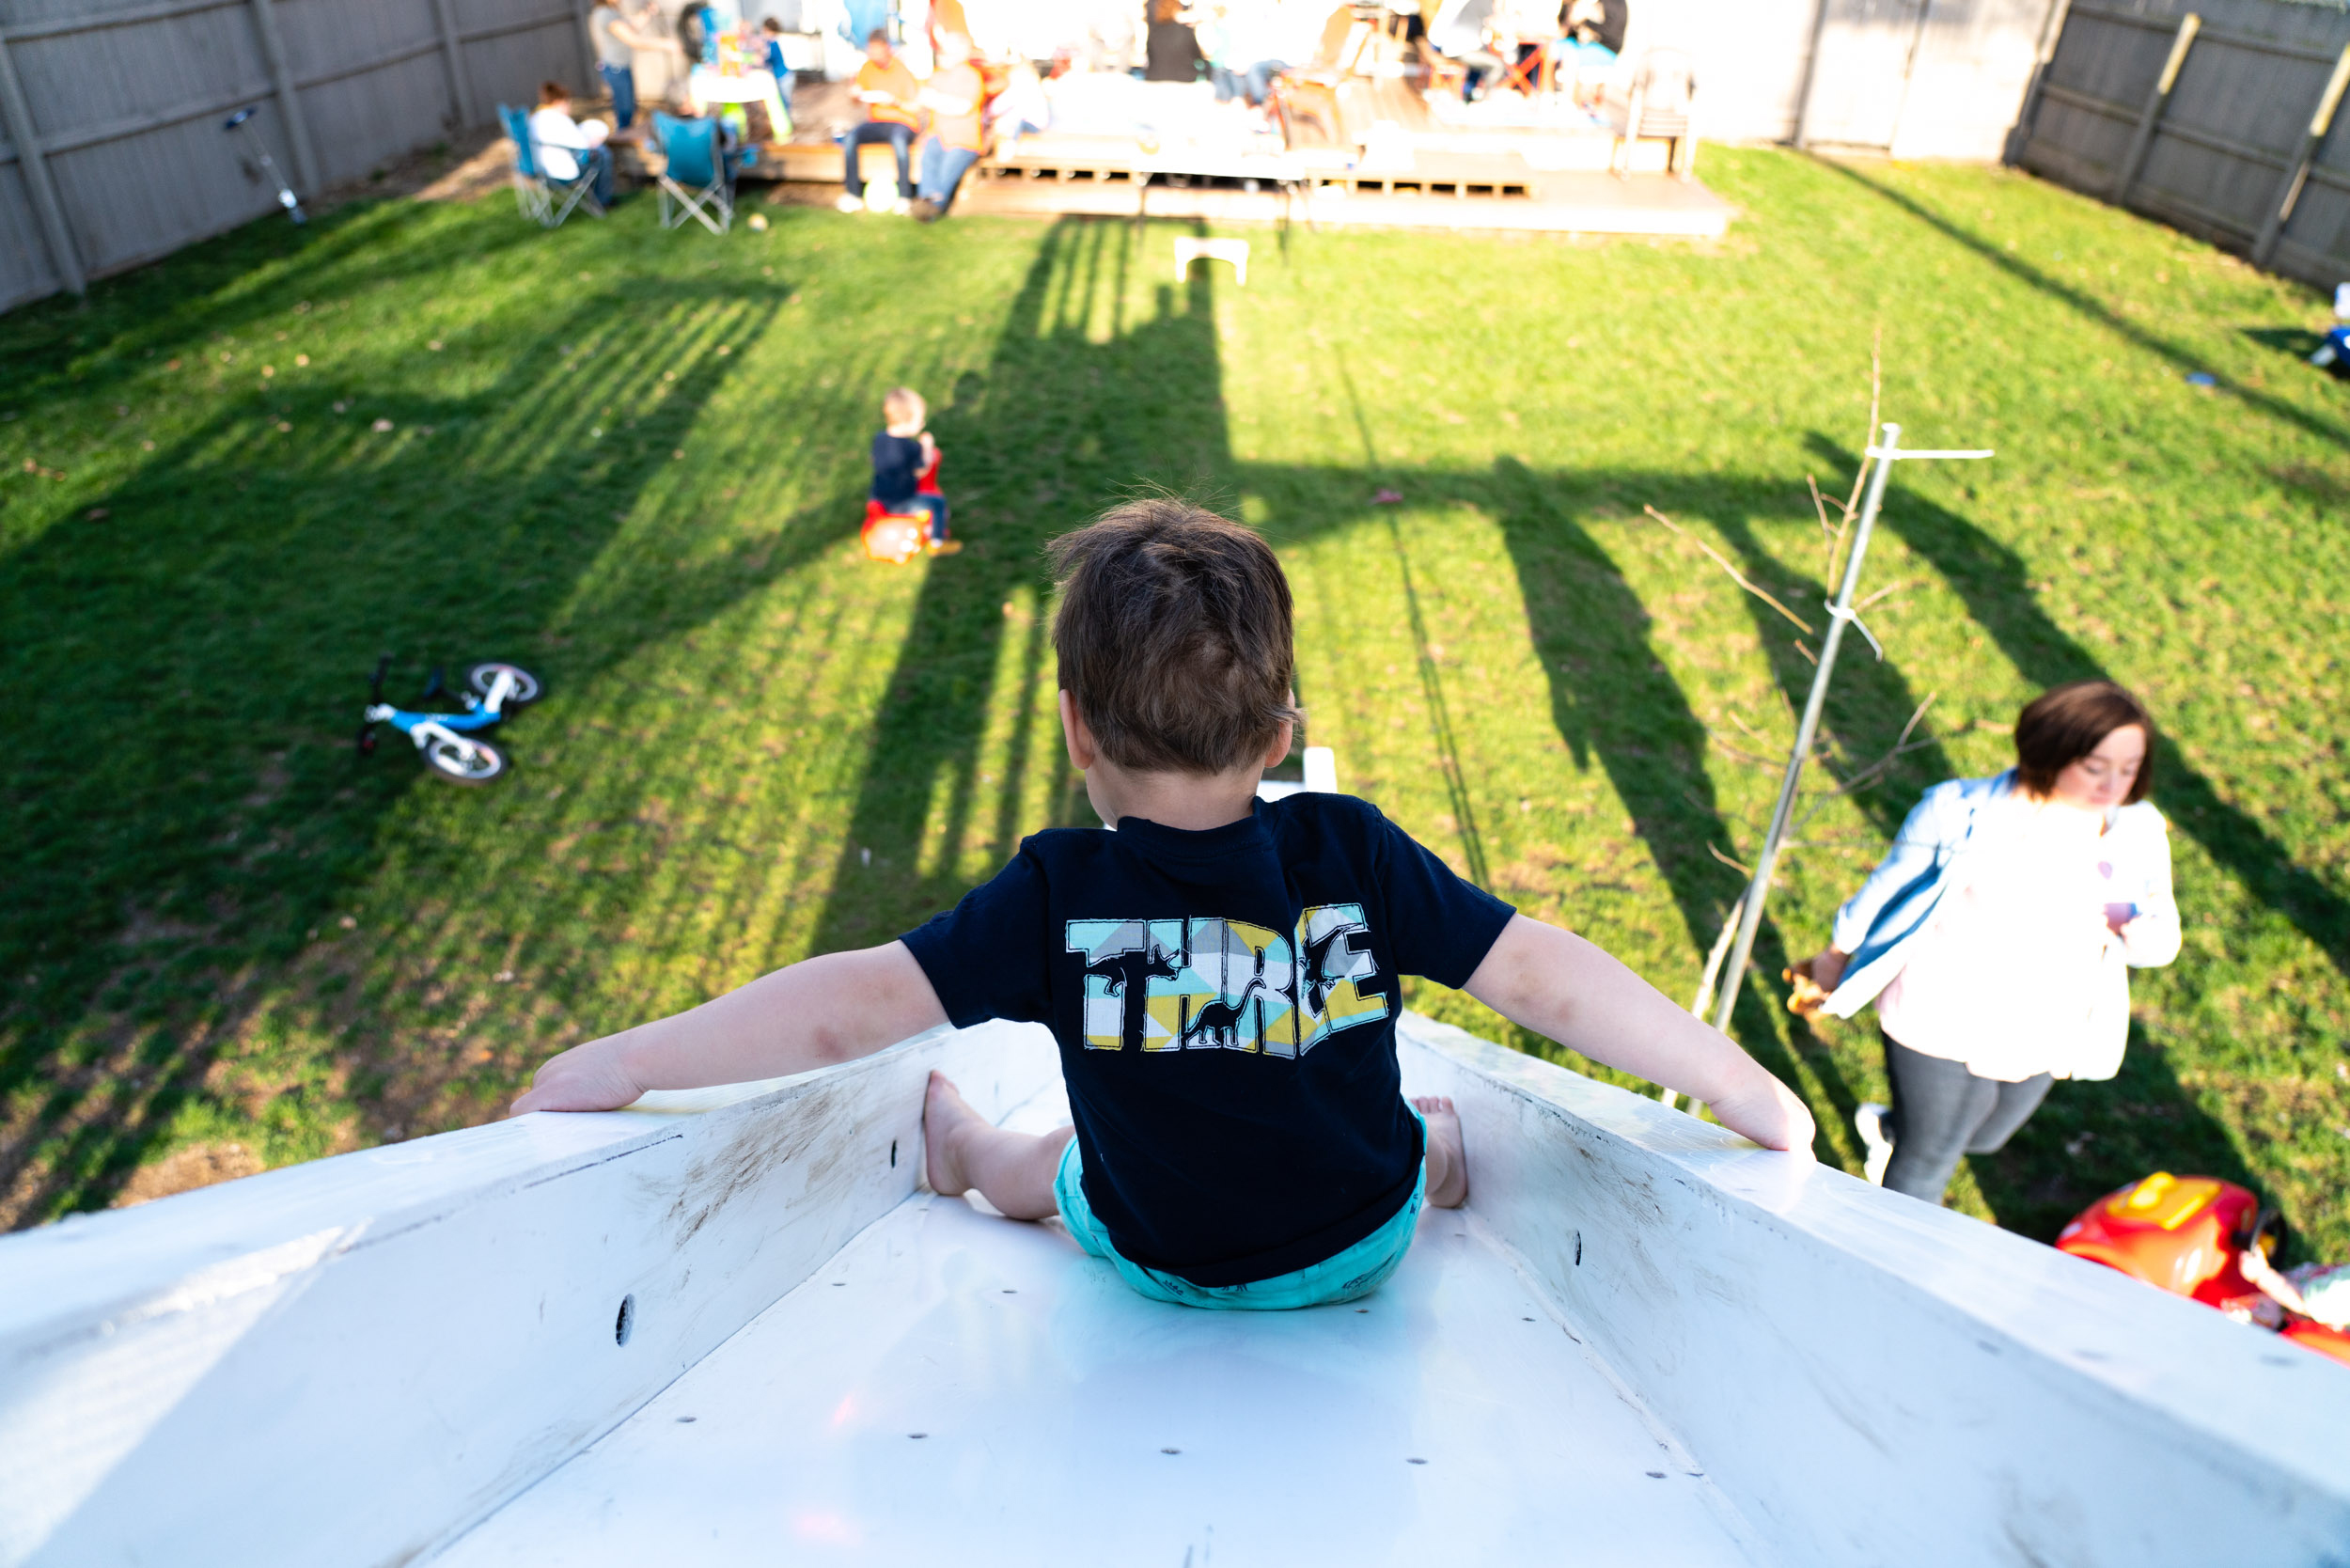
Maslow going down the slide on his big day!